Install SoloDB on docker
In this document the process is explained to install SoloDB using Docker. To run SoloDB the following services will be installed
| Service | Role |
|---|---|
| Docker | To run SoloDB docker container and Traefik to handle incoming requests |
| Solr | Search engine using SoloDB search configuration |
| MySQL | Database server |
Pre requirements
For this install a (virtual) server running Debian is required
- Disk: minimal 256 GB, 512 GB preferred
- CPU: 4 Cores
- Memory: 16 GB
Software installation
Install docker
sudo apt-get update && apt-get upgrade

sudo sudo apt-get install \
    ca-certificates \
    curl \
    gnupg2 \
    lsb-release

sudo mkdir -p /etc/apt/keyrings
 curl -fsSL https://download.docker.com/linux/debian/gpg | sudo gpg --dearmor -o /etc/apt/keyrings/docker.gpg

echo \
  "deb [arch=$(dpkg --print-architecture) signed-by=/etc/apt/keyrings/docker.gpg] https://download.docker.com/linux/debian \
  $(lsb_release -cs) stable" | sudo tee /etc/apt/sources.list.d/docker.list > /dev/null

sudo apt-get update
sudo apt-get install docker-ce docker-ce-cli containerd.io docker-compose-plugin
We want to allow usage of Docker by normal users
sudo usermod -aG docker ${USER}
Login and log out to reload the permissions
Install MySQL, using the installation package of MySQL. Debian will install MariaDB as default database server when no extra sources are added. The latest version can be found on the APT pages of MySQL
wget https://dev.mysql.com/get/mysql-apt-config_0.8.23-1_all.deb
sudo apt install ./mysql-apt-config_0.8.23-1_all.deb

sudo apt-get update
sudo apt-get install mysql-server

sudo mysql_secure_installation
Create a dedicated user for SoloDB
CREATE USER 'solodb_admin'@'172.%' IDENTIFIED BY 'password';
GRANT ALL PRIVILEGES ON `solodb_production`.* TO 'solodb_admin'@'172.%';
FLUSH PRIVILEGES;
Install SOLR (version number might be higher, can be checked on the Solr Download page)
sudo apt-get install default-jdk default-jre
wget https://www.apache.org/dyn/closer.lua/solr/solr/9.7.0/solr-9.7.0.tgz?action=download
mv solr-9.7.0.tgz?action=download solr-9.7.0.tgz
tar xzf solr-9.7.0.tgz solr-9.7.0/bin/install_solr_service.sh --strip-components=2
sudo ./install_solr_service.sh solr-9.7.0.tgz
Change SOLR so it listens to all interfaces (and not only to localhost)
sudo nano /etc/default/solr.in.sh
Change the following settings
# By default the start script uses "localhost"; override the hostname here
# for production SolrCloud environments to control the hostname exposed to cluster state
SOLR_HOST="0.0.0.0"

# Increase Java Heap as needed to support your indexing / query needs
SOLR_HEAP="4g"

# Sets the network interface the Solr binds to. To prevent administrators from
# accidentally exposing Solr more widely than intended, this defaults to 127.0.0.1.
# Administrators should think carefully about their deployment environment and
# set this value as narrowly as required before going to production. In
# environments where security is not a concern, 0.0.0.0 can be used to allow
# Solr to accept connections on all network interfaces.
SOLR_JETTY_HOST="0.0.0.0"
Clone SoloDB SOLR docker repository and reload SOLR (as solr user)
sudo su && su solr
ssh-keygen #Upload the key to Github to prevent API rate limits
git clone https://github.com/jield-webdev/solodb-solr /var/solr/data
exit
sudo service solr restart
Create database and import the basic database into the mysql-server
mysql -u root -p
Download a copy of an empty database
create database solodb_production;
use solodb_production;
source ./emtpy_solodb_database.sql;
Traefik Configuration
This setup uses Traefik to manage the incoming traffic and redirect it to the SoloDB app docker container. Create a folder where the docker compose config file can be stored
sudo mkdir /var/www
sudo chown debian:debian /var/www
Switch to user debian (or the user you created) and create docker-compose
cd /var/www
mkdir solodb
cd solodb
nano docker-compose.yml
There are 2 example configuration available
Changes can be made based on the used setup
Create a config file which has all variables for SoloDB, a sample can be found here
<?php

declare(strict_types=1);

use Doctrine\DBAL\Driver\PDO\MySQL\Driver;

return [
    'doctrine' => [
        'connection' => [
            'orm_default' => [
                'driverClass' => Driver::class,
                'params' => [
                    'host' => '172.17.0.1',
                    'port' => '3306',
                    'user' => 'solodb_admin',
                    'password' => 'PASSWORD',
                    'dbname' => 'solodb_production',
                    'driverOptions' => [
                        PDO::MYSQL_ATTR_INIT_COMMAND => "SET NAMES 'UTF8'",
                    ],
                ],
            ],
        ],
    ],
    'solr' => [
        'host' => '172.17.0.1',
    ],
    'cache' => [
        'options' => [
            'server' => [
                'host' => 'localhost',
                'port' => 6379,
           ],
           'database' => 1,
           'namespace' => 'solodb',
        ],
    ],
    'application_options' => [
        'serverUrl' => 'https://hostname.solodb.net',
    ],
    'lmc_cors' => [
        'allowed_origins' => [
            'https://hostname.solodb.net',
        ],
        'allowed_methods' => ['GET', 'POST', 'PUT', 'DELETE', 'OPTIONS', 'PATCH'],
        'allowed_headers' => ['Authorization', 'Content-Type', 'Accept'],
    ],
];
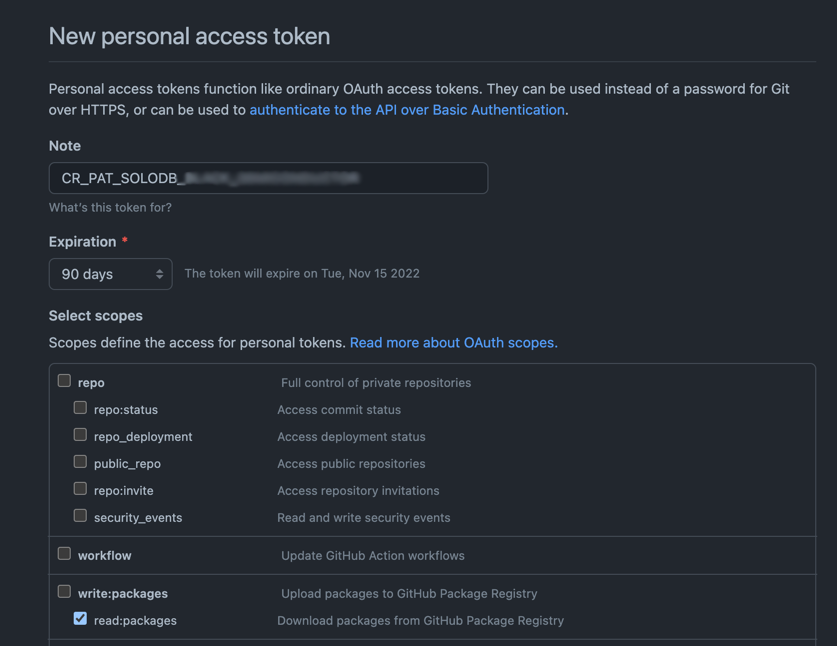
Generate a Peronal Access Token (PAT) on GitHub and save it locally
Start the docker compose
export CR_PAT=YOUR_TOKEN
echo $CR_PAT | docker login ghcr.io -u USERNAME --password-stdin
docker network create web
docker compose up -d