How to set up an SPC test
Last update: 15 March 2023
In SoloDB it is possible to set up a SPC test for a process on an equipment. This is done by creating a monitored process in which a small process flow is described including a measurement step where the monitored process is checked.
In this howto is explained how a monitored process can be created and how the requirements for SPC can be set up.
The SPC test
In this howto we follow the creation of a simple SPC test for a thickness measurement of a deposited layer of SiN 2. The requirement is that, for this process, the thickness of the layer should be between 40 and 50 nm. The layer is deposited using the OXFORD PECVD (Chamber 1) and the thickness is measured using a Dektak profilometer.
Create a monitored process
Via Equipment > Monitored processes a new monitored process can be created. Use the button Create monitored process
and complete the form. In this form the following fields are available:
| Parameter | Value |
|---|---|
| Name | Name of the SPC test / Monitored process |
| Description | More detailed description of the monitored process |
| Responsible | User responsible for the monitored process |
| Type | Monitored process type (scheduled or in run) |
| Project | Select the project to which this monitored process belongs. |
| Frequency | Textual indication of the frequency |
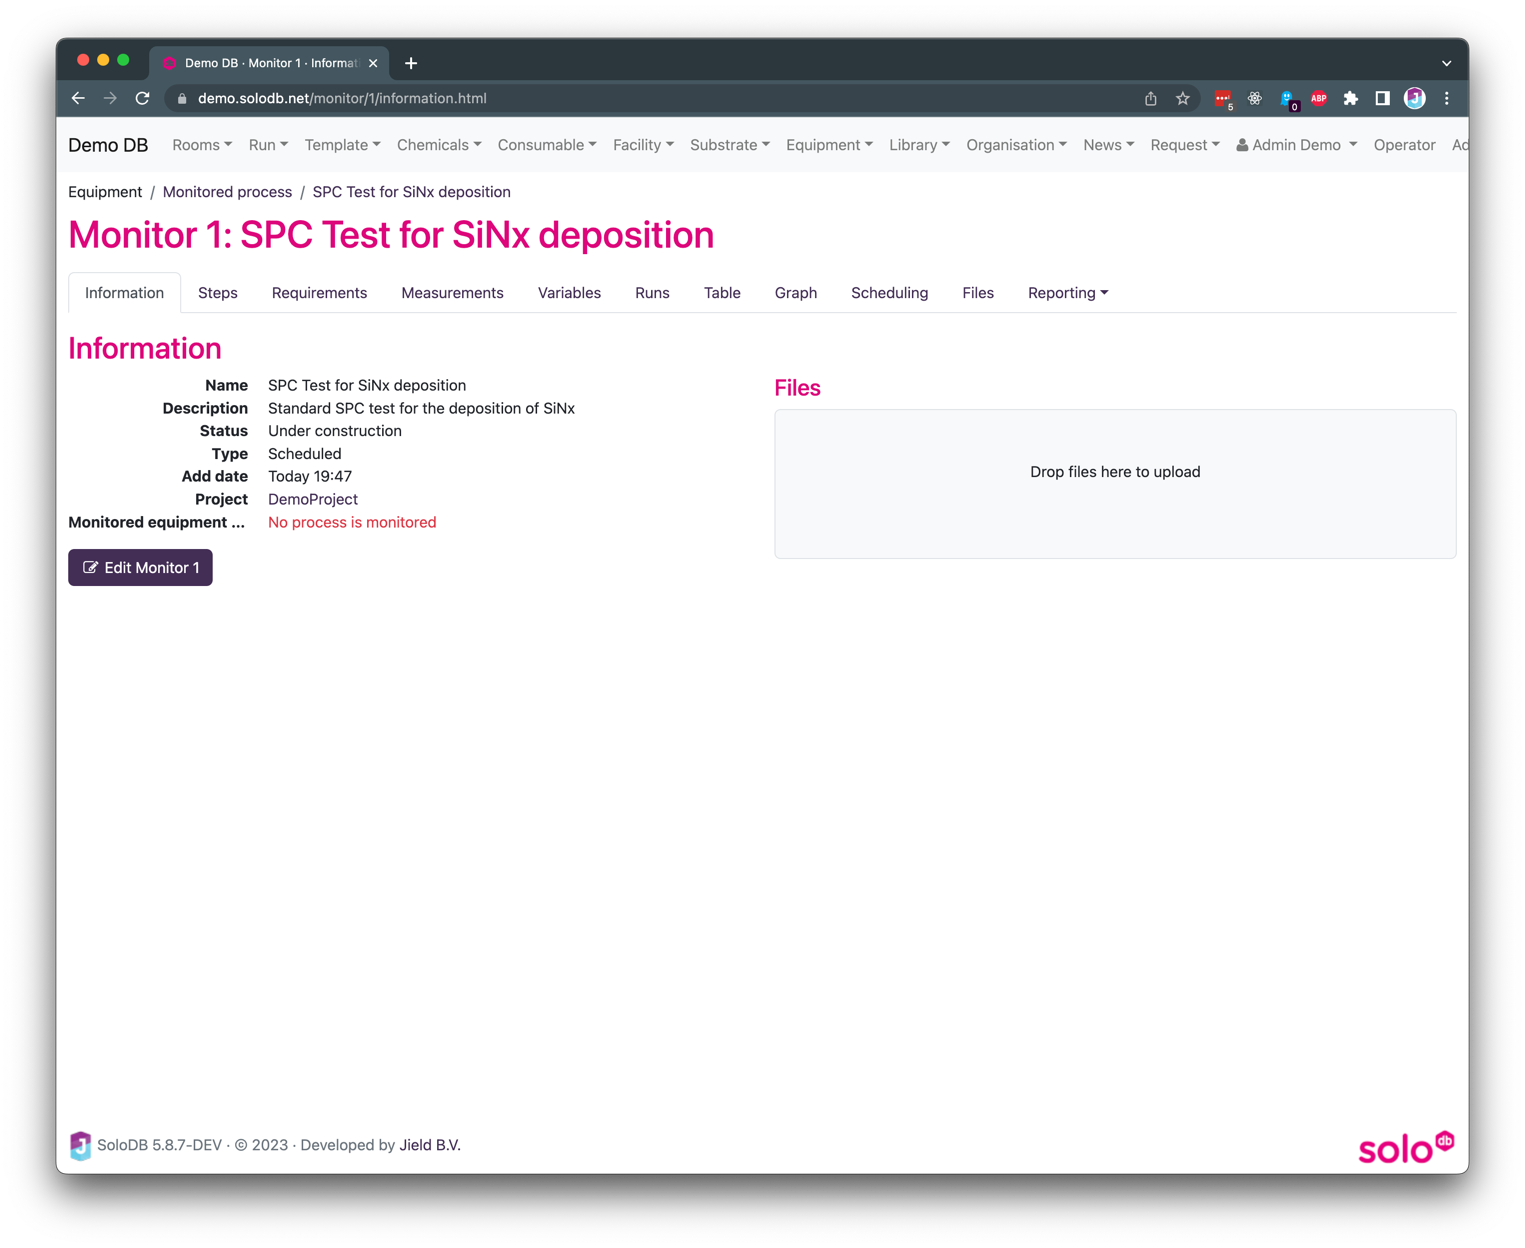
If the form is completed SoloDB shows an overview page of the monitored process as can be shown below
Adding the steps
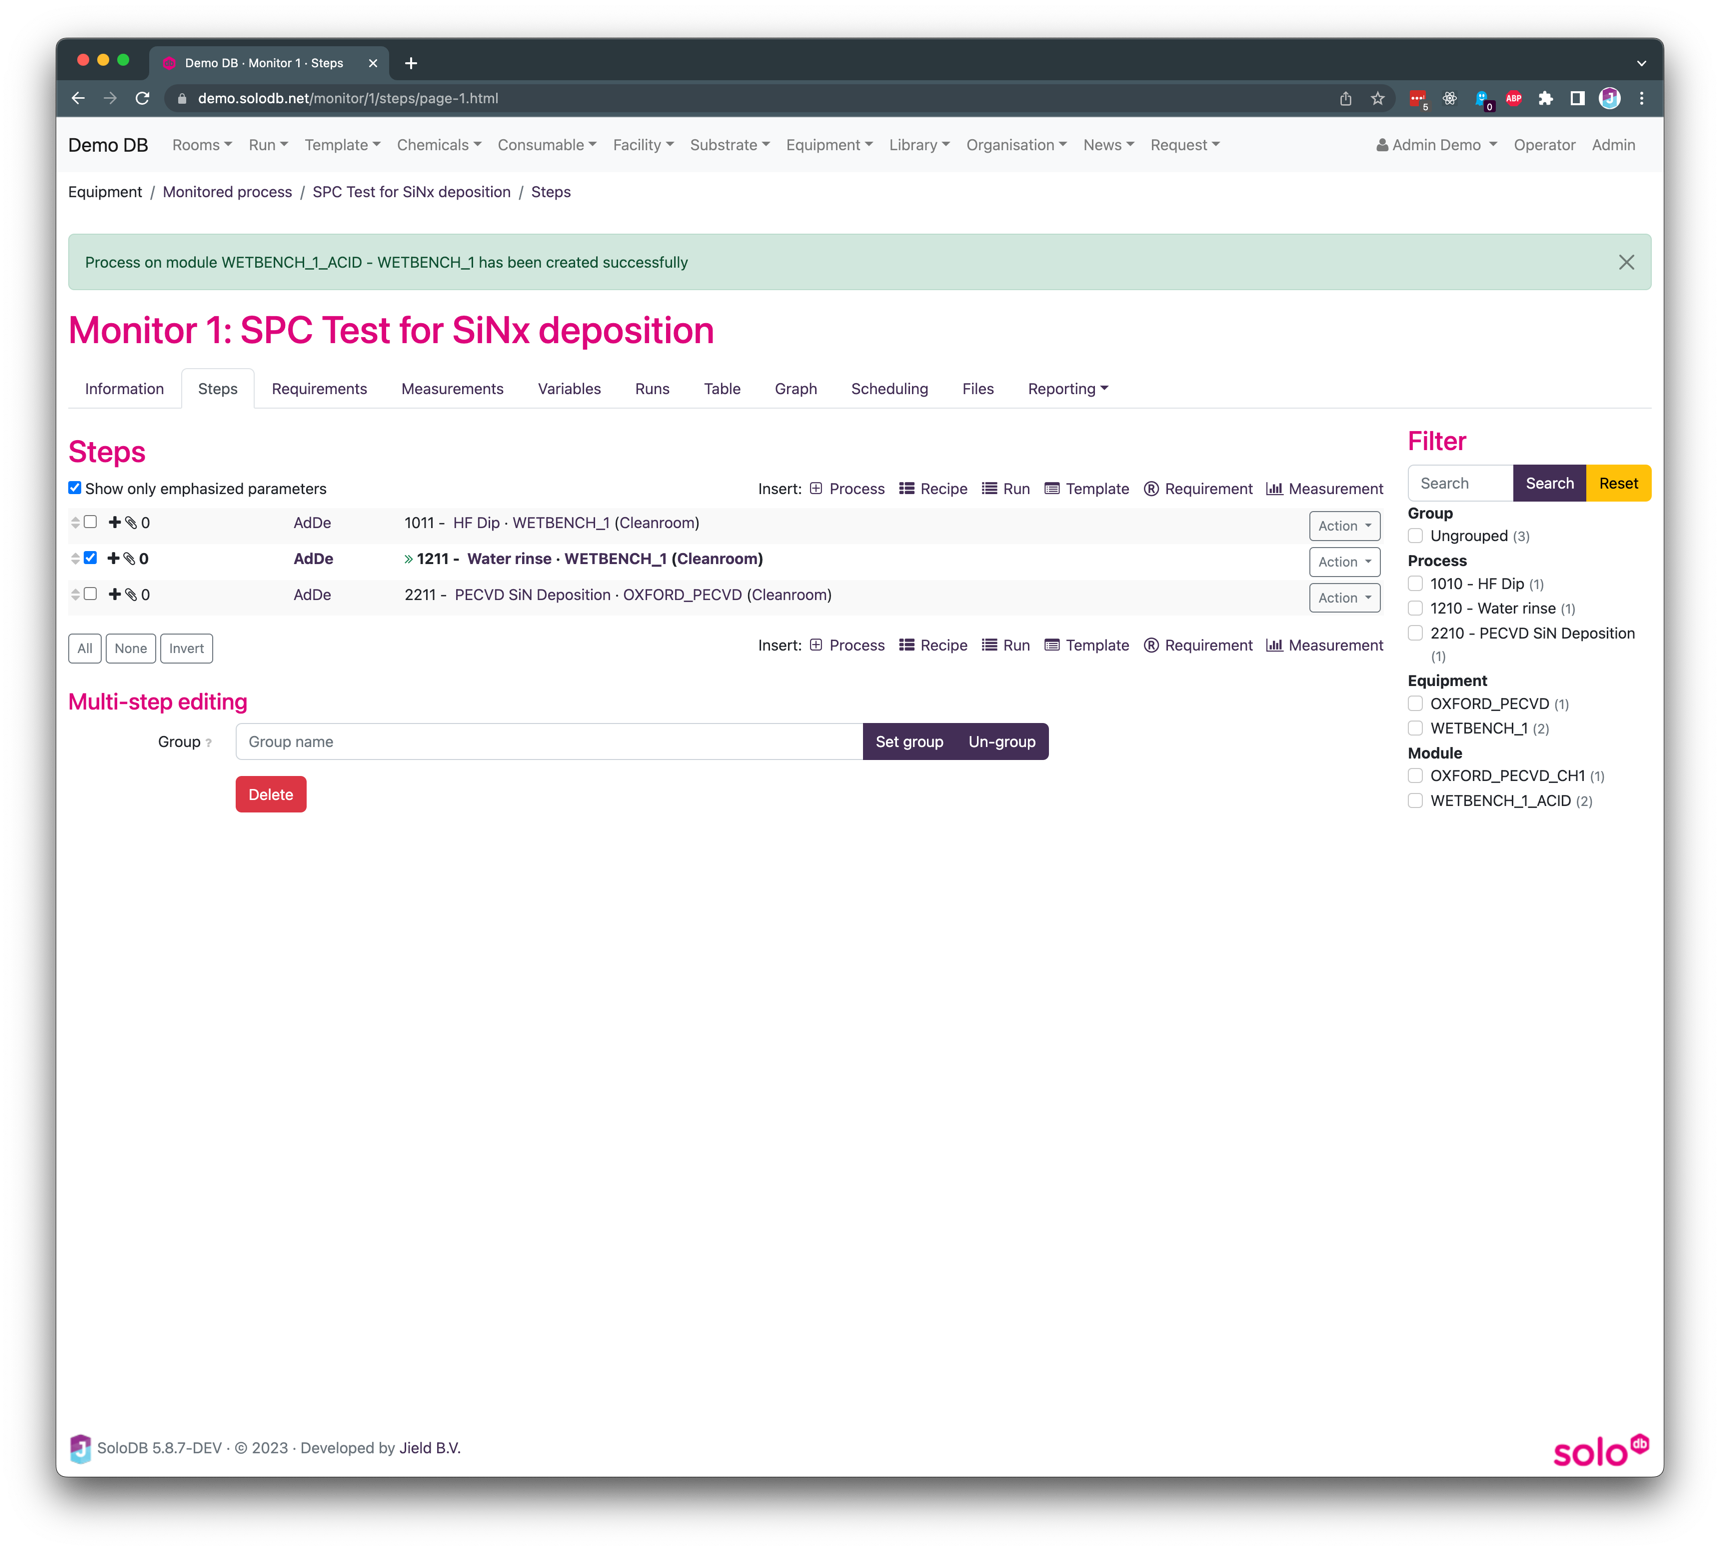
The next step is to add the steps of the monitored process. This is done on the “steps” by clicking one of the insert buttons, comparable with the method of adding steps to a run or template
It is important to first insert the steps which are necessary for the process, including cleanings or other conditioning steps. For each SPC flow the initial conditions should be the same. In this howto we add an HF dip and a water rinse before we deposit the layer of SiN2. The steps are added as shown below
Create the logging parameter
Each SPC test should have a logging parameter which is used to log the measured value. If logging has been set up for the used equipment then select the parameter which is returned from the logging. If manual logging is required then the logging parameter has to be created first. For this howto we use manual logging and use the logging parameter Thickness
Setting up the requirement
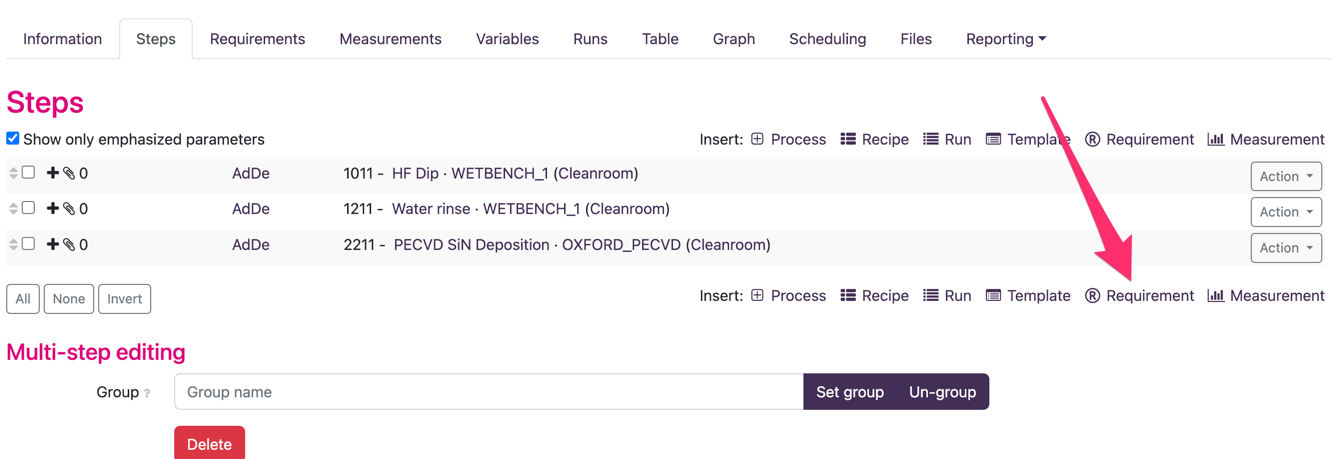
The added steps can be considered as a stand-alone process flow however the SPC test is not complete yet. The next step is to add a requirement to the monitored process. This is done by inserting a requirement in the flow, see image blow
Upon inserting a requirement SoloDB shows a list of all available requirement processes (processes where the process type is “can be requirement”). Choose the required requirement processes (in this case a thickness profile using the Dektak) and SoloDB will insert this process step into the monitored process
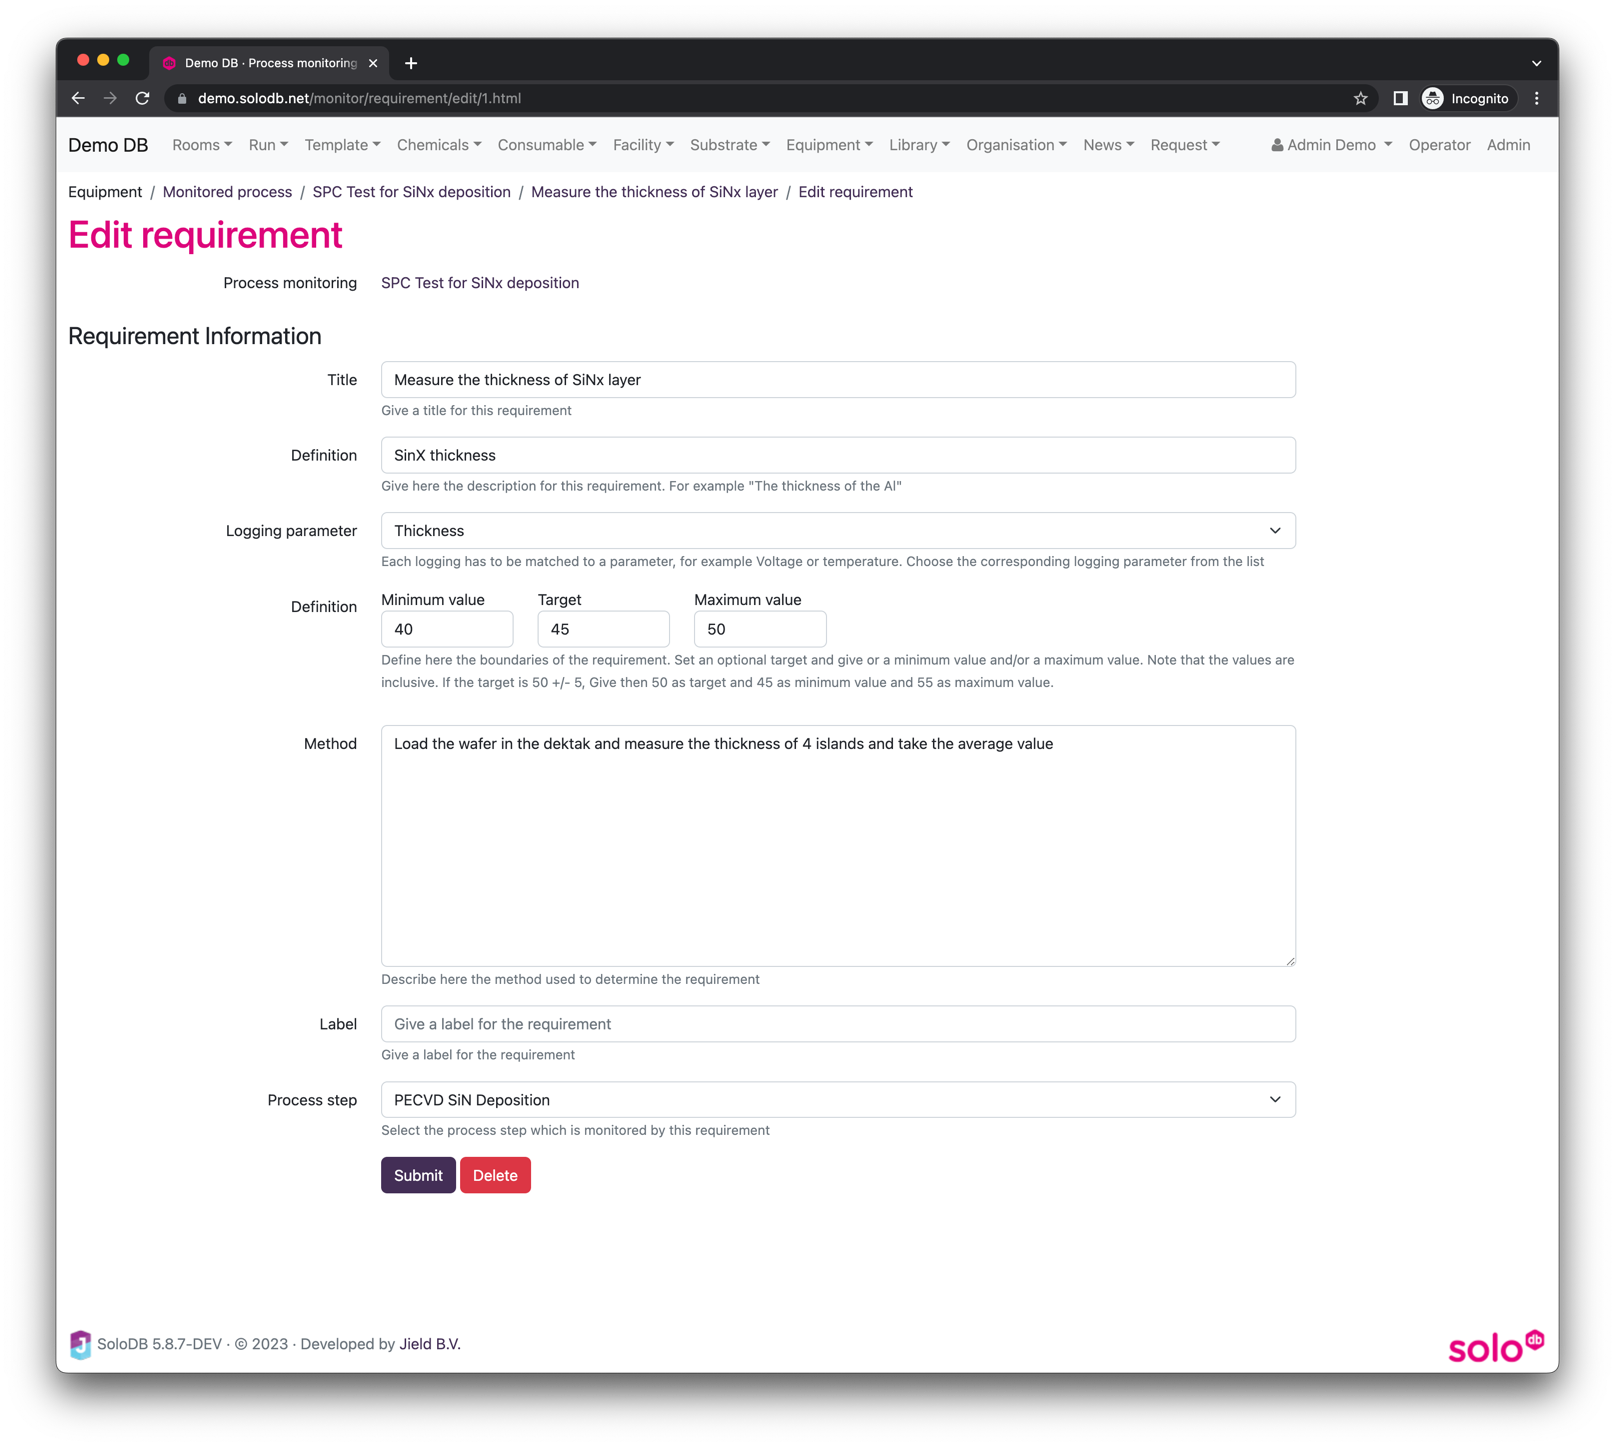
When the requirement has been added the measurement step in the flow has a badge “Requirement” and the measured step is marked with a magnifying glass (see below)

Creating a monitor run
Via the tab “Runs” a new run can be created. This run will have the same steps as the monitored process and the steps in the run cannot be edited, the results obtained in the run will be visible in the tab “Table” and “Graph” and will also be exported to the data warehouse.
Runs can also be created automatically by using the “Schedule” tab. In this tab a schedule can be created based on which SoloDB will automatically create runs.
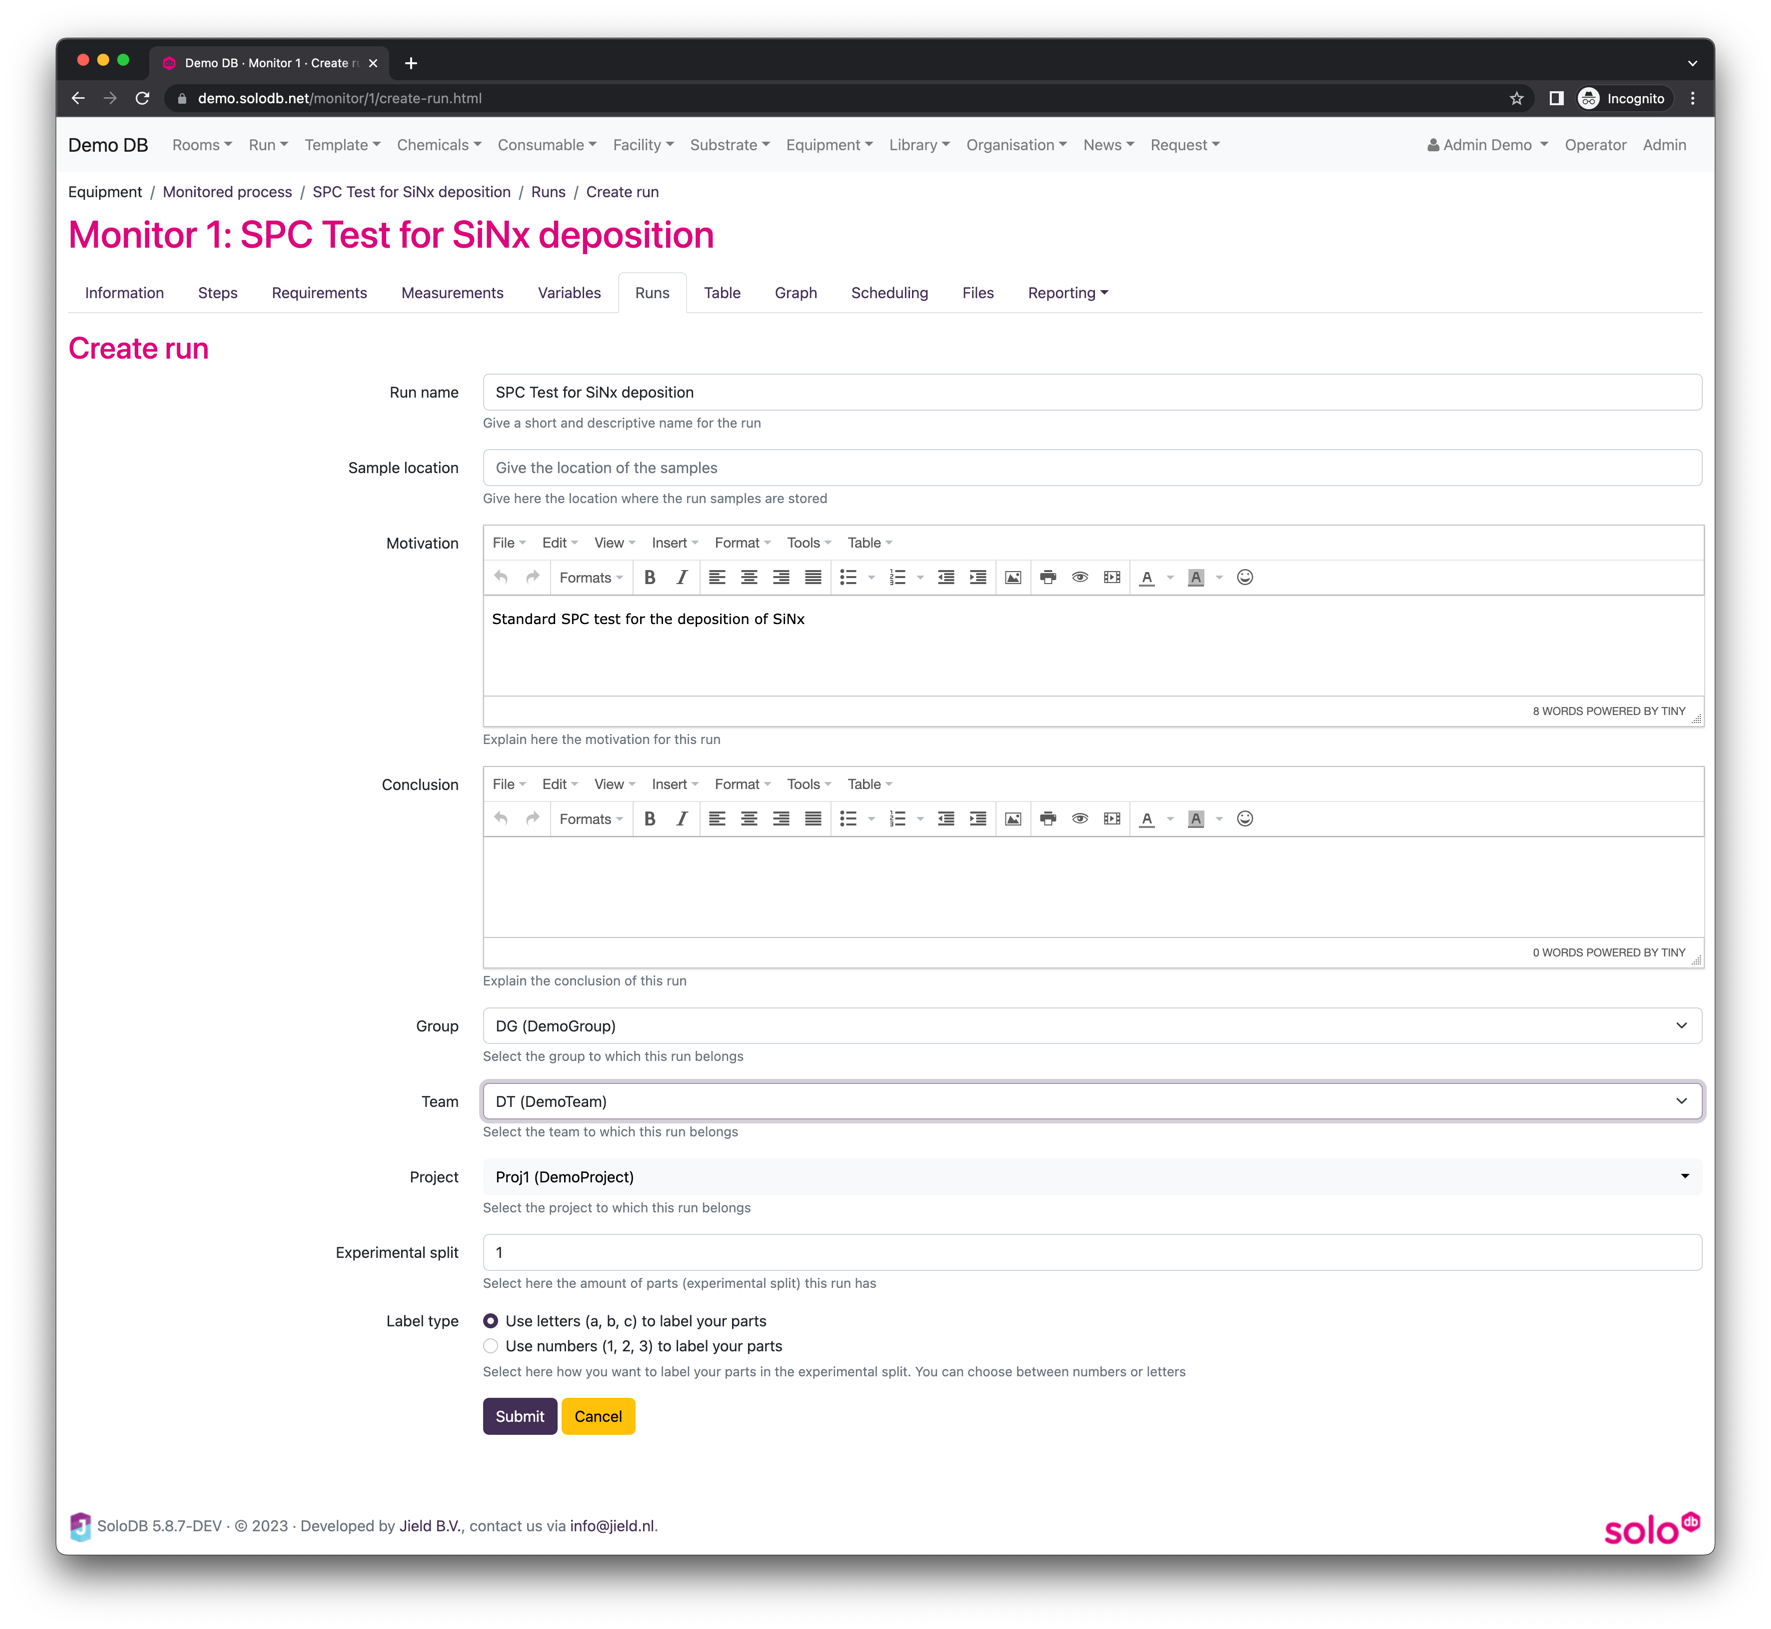
When a run is created manually via the “Create run for Monitor” SoloDB ask some extra information about the run and most info is already pre-filled based on information from the monitored process. The only thing which has to be filled in are the group, team and project and the experimental split.
When the run is created, SoloDB will show the run in the “Runs” tab.
Monitored process run
When a run is created based on a monitored process the run cannot be modified, this means that all steps are frozen and now new steps can be added. The only thing which can be done is to update the execution info for a run, like finishing a step, update a comment or upload a file. The run has to be started and finished in the same way as a normal run.
When the run is finished the results of the run can be seen in the “Table” and “Graph” tab. The results are also